Redspark's Moho Scripts
A downloadable tool
I've been using Moho for to make animations for games and story telling. I developed a few little Lua Scripts that I thought I would share because some of them are great time savers.
Moho Joint Rigging Scripts
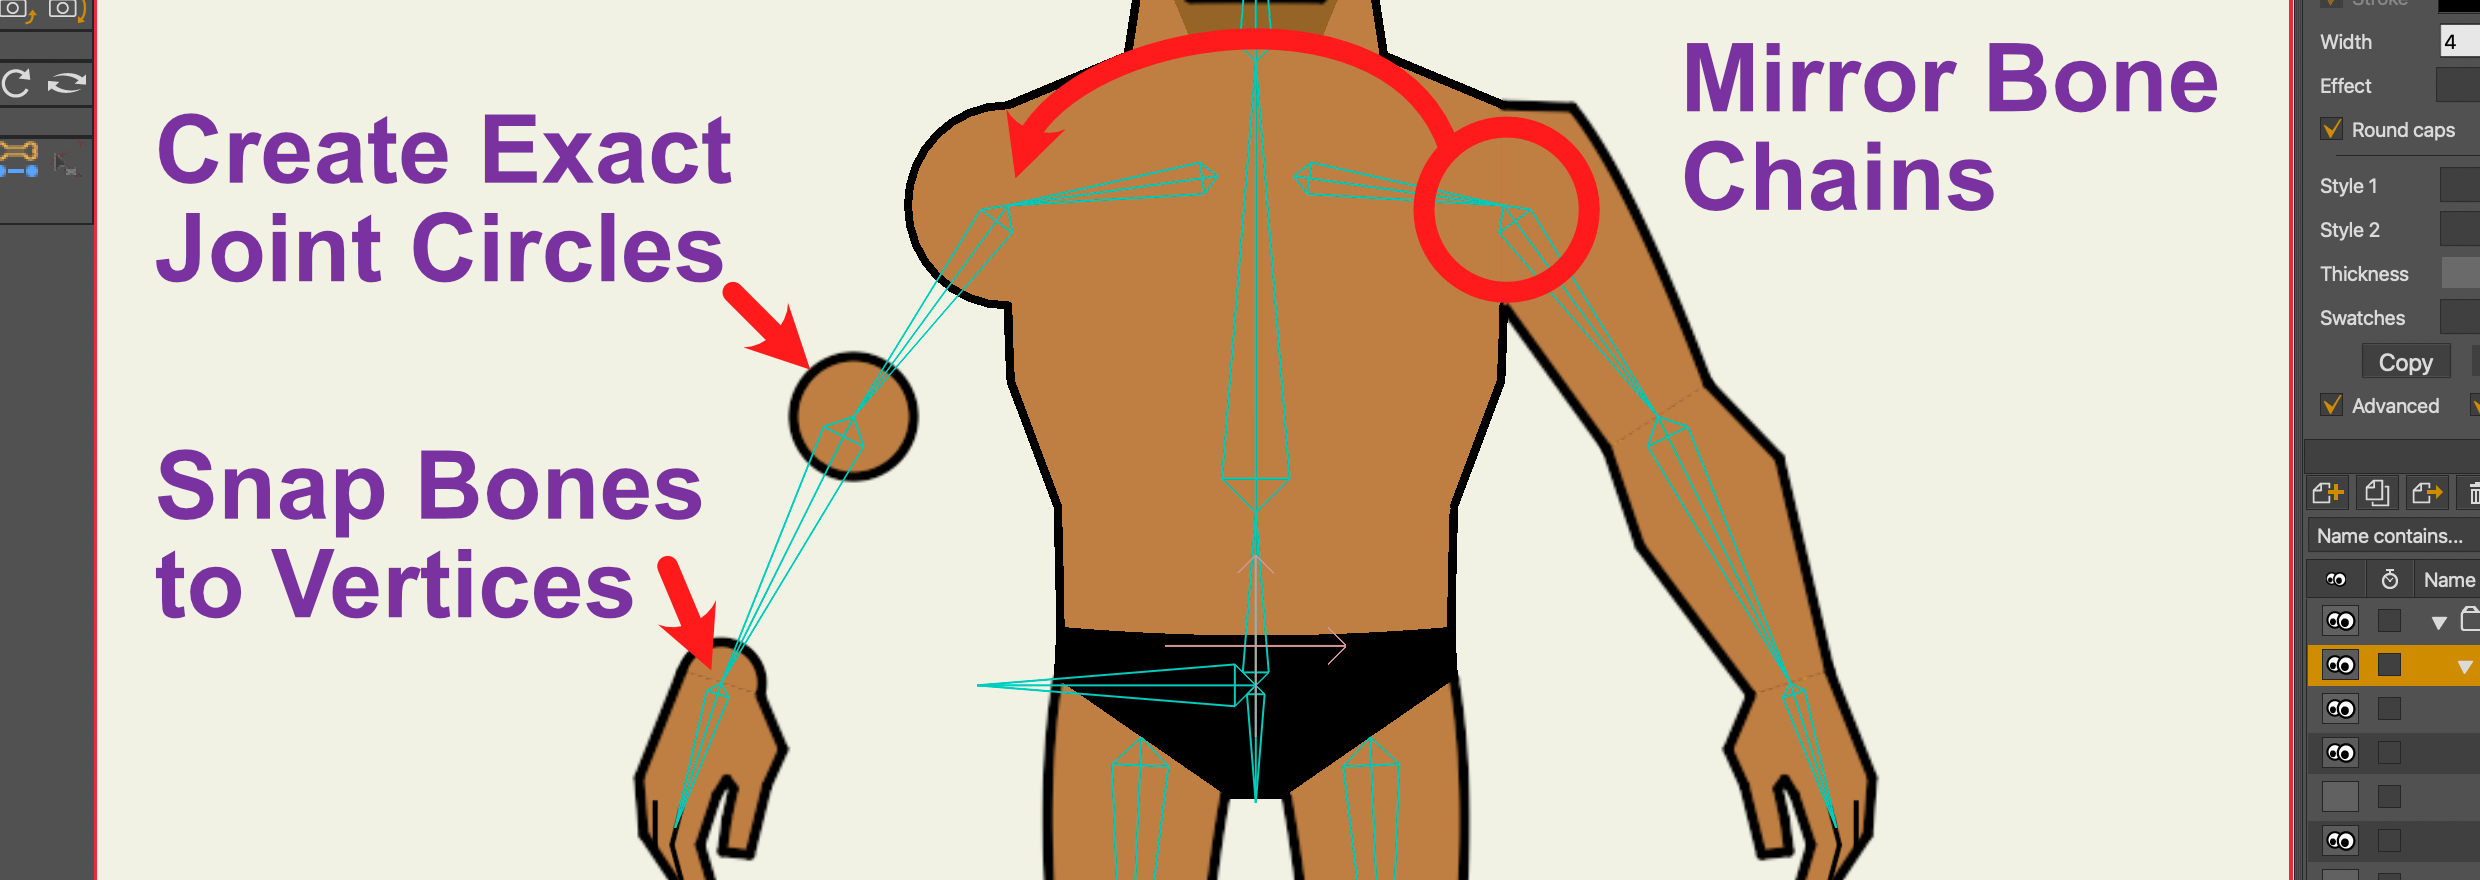
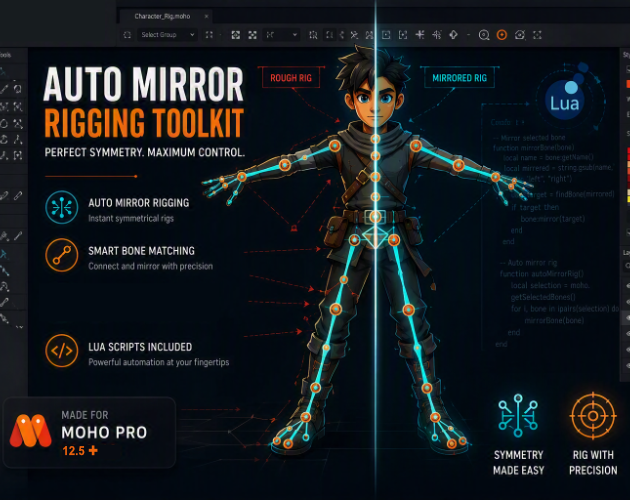
A small set of Lua menu scripts for Moho 12.5 Pro (and later) that speed up precise, joint-centred rigging: snapping bones onto joint points, mirroring bone chains, and generating joint circles.
Built and tested in Moho 12.5 Pro. They use only long-standing scripting API, so they should also run in Moho 13 / 14. A few features (auto-creating shapes) rely on Moho Pro — they will not work in Moho Debut.
What's included
| What it does | |
|---|---|
| Snap Bone To Point | Snaps a bone's base onto a selected vector point (a joint centre), and re-joints the chain around it. |
| Mirror Bone Chain Across Y-Axis | Mirrors a single selected bone to the other side of the rig. Mirrors a selected bone and its whole child chain, rebuilding the hierarchy; re-run to update. |
| Circle From Two Points | Builds a true circle through two selected points, on its own layer with a fill/outline. |
Every script has a short block of options at the very top of the .lua file (things like CONFIRM = true). Open the file in a text editor to change them.
Installation
- In Moho, open Preferences and find the Custom Content Folder location (there's a button to reveal it in Explorer / Finder). This is where Moho looks for user scripts.
- Go into that folder and open
Scripts/Menu/. If aMenufolder doesn't exist, create it. You can also make a sub-folder (e.g.Menu/Rigging/) to keep these together — it will show up as a sub-menu. - Copy the
.luafiles into that folder. Keep the file names as they are — each file's name matches its internal script name. - Restart Moho.
- The scripts appear under the Scripts menu in the menu bar (inside a sub-menu if you used one).
Tip: most of these are rig-setup tools. Do this work at frame 0, where Moho stores the rest pose.
Snap Bone To Point
Snaps the selected bone's base onto a selected vector point. If you select a whole joint circle, it snaps to the centre of those points. It also keeps the rest of the limb tidy: children stay put, and the bone (and its parent) stretch to keep the joint connected.
How to use
- Enter the bone layer and select the bone you want to move.
- Single-click the child vector layer in the Layers panel to make it active (don't double-click — that opens Layer Settings).
- Choose the Select Points tool and select the point(s) — for a joint circle, select the whole circle.
- Run Scripts ▸ Snap Bone To Point.
What it does (at frame 0)
- Moves the bone's base to the selected point (or the centre of several points).
- Any child bones stay where they are rather than being dragged along.
- If the bone has exactly one child, the bone rotates/stretches so its tail meets that child.
- If the bone is a child and its parent has only this one child, the parent's tail is re-pointed down to the new joint too.
- Pin bones (zero-length) are never given length, so they stay pins.
Options (top of the file): CONFIRM, KEEP_CHILDREN, AIM_AT_SINGLE_CHILD, AIM_PARENT_AT_SELECTED.
Tip: because the tool reaches up to a parent and down to a child, the cleanest results come from working down a limb — hip, then knee, then ankle. Each snap leaves everything below it untouched.
Mirror Bone Chain Across Y-Axis
Mirrors the selected bone and all of its descendants across the centre line, rebuilding the hierarchy on the far side. Select a shoulder and the whole arm — upper arm, forearm, hand, fingers — mirrors in one go.
How to use
- In the bone layer, select the top bone of the chain (e.g. the shoulder or hip).
- Run Scripts ▸ Mirror Bone Chain Across Y-Axis.
Details
- The mirrored chain's root attaches to the same parent as the original, so both limbs hang off the same torso/root bone.
- Each mirrored bone is parented to the mirror of its original parent, so the new chain is connected exactly like the source.
- Names follow the
_L▸_Rconvention (also handlesleft/right,.L/.R,L/R).
Re-running / updating
If the mirrored bones already exist, the script updates them in place by name instead of creating duplicates. Tweak your left side, run again, and the right side follows. The summary dialog reports how many were Created vs Updated.
Options: UPDATE_EXISTING, SMART_RENAME, SELECT_NEW_ROOT, SHOW_SUMMARY.
Limitations
- Matching is by name, so it relies on the
_L/_Rconvention. - It does not delete orphaned mirror bones (delete those by hand).
- Bone constraints and smart-bone / target / control relationships are not remapped — relink those on the mirrored side afterwards.
Circle From Two Points
Creates a circle defined by two selected points: centred on their midpoint, with a diameter equal to the distance between them, so the edge passes exactly through both. Handy for building joint-centre markers.
How to use
- In a vector layer, select exactly two points.
- Run Scripts ▸ Circle From Two Points.
What it does
- Creates a new vector layer (named Joint Circle) and draws a true 4-point circle on it (matching Moho's native ovals).
- Auto-creates a fill + outline shape using your current fill/line style.
Options (top of the file):
POINTS— points around the circle (default4; keep it even).CURVATURE—0.3914, the value that makes 4 points a true circle. If you raisePOINTS, draw a perfect circle in Moho and read a point's curvature to get the matching value.NEW_LAYER—falseto draw into the current layer instead.LAYER_NAME— name for the new layer.MAKE_SHAPE—falseto leave bare geometry (no fill/outline).FILLED—falsefor an outline-only ring.
Note: each run makes its own new layer. Your two original points are left in place; delete them if they were only scaffolding.
Tips & troubleshooting
- Do rig setup at frame 0. These tools write the rest pose; other frames are for animation.
- Save before large operations (a full chain mirror, many snaps). Undo works for most actions, but a save is cheap insurance.
- Nothing happened? Most scripts show a dialog when something's missing (no bone selected, no points selected, wrong layer). Read that message — it usually names exactly what's needed.
- Mirror axis is x = 0 in the bone layer's own space — the character's centre line for a centred rig. If your rig is offset sideways, the mirror is offset by the same amount.
Download
Click download now to get access to the following files:
Leave a comment
Log in with itch.io to leave a comment.